Installing K3s & Cilium for a Lightweight Kubernetes Cluster
01-Jul-2025
This is a continuation of my previous post on Kubernetes Raspberry Pi Setup. In this guide, we’ll walk through setting up a lightweight Kubernetes cluster using K3s and leveraging Cilium for powerful networking and security. This setup builds upon the Raspberry Pi cluster foundation covered in the previous post, showcasing how this combination is ideal for resource-constrained environments like home labs or edge computing.
Why K3s?
K3s is a certified, lightweight Kubernetes distribution built for IoT and Edge computing. It packages everything you need into a single binary, significantly reducing its memory footprint. This makes it perfect for Raspberry Pi clusters where resources are limited. For this setup, we’ll disable the default Flannel CNI (Container Network Interface) to make way for Cilium.
Why Cilium?
Cilium provides networking, observability, and security for containerized workloads using eBPF (extended Berkeley Packet Filter) technology. By operating at the Linux kernel level, Cilium offers high performance and granular control over network policies without altering application code.
K3s Installation
First, we’ll install K3s on our master node.
On the master node:
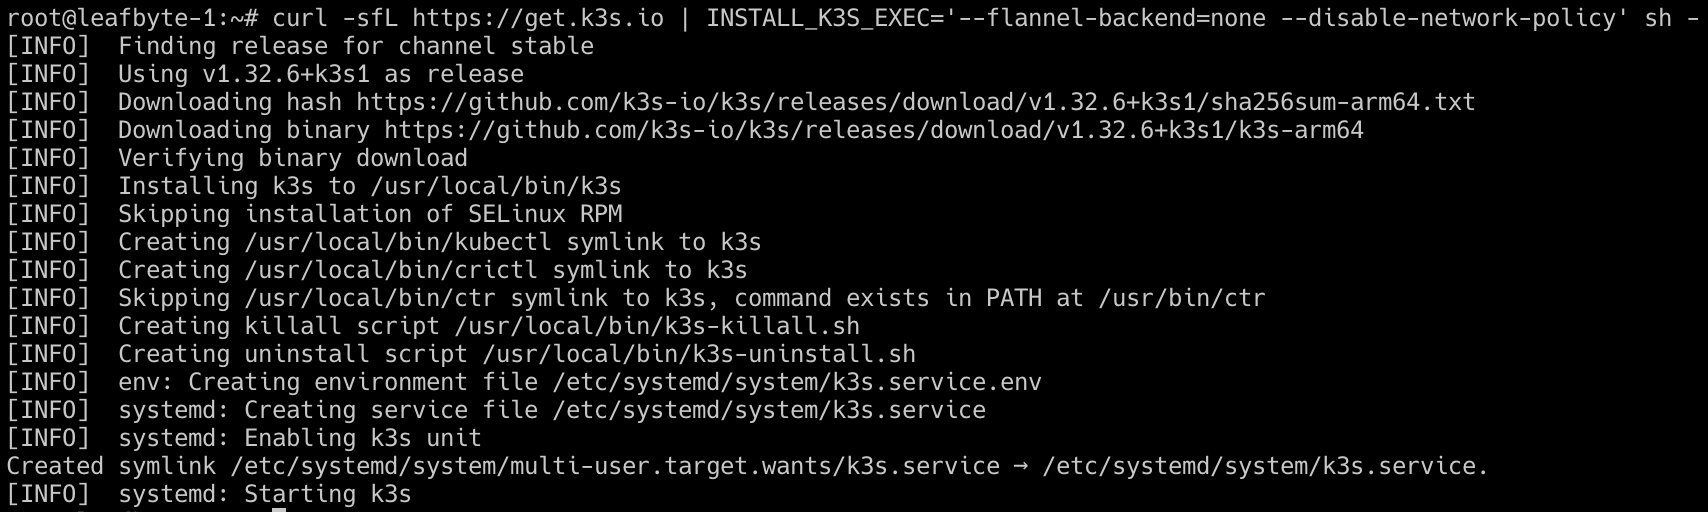
The following command installs K3s without the default Flannel network backend and disables the network policy controller, as Cilium will manage this.
curl -sfL https://get.k3s.io | INSTALL_K3S_EXEC='--flannel-backend=none --disable-network-policy' sh -

After installation, retrieve the kubeconfig file and the node token. You’ll need these to connect to the cluster and add worker nodes.
cat /etc/rancher/k3s/k3s.yaml
cat /var/lib/rancher/k3s/server/node-token
On the worker node(s):
Use the master’s IP and the node token to join the worker node to the cluster.
curl -sfL https://get.k3s.io | K3S_URL='https://{MASTER_IP}:6443' K3S_TOKEN=${NODE_TOKEN} sh -

Cilium CLI Installation
Next, install the Cilium CLI on your local machine to manage the Cilium installation in the cluster.
CILIUM_CLI_VERSION=$(curl -s https://raw.githubusercontent.com/cilium/cilium-cli/main/stable.txt)
CLI_ARCH=amd64
if [ "$(uname -m)" = "arm64" ]; then CLI_ARCH=arm64; fi
curl -L --fail --remote-name-all https://github.com/cilium/cilium-cli/releases/download/${CILIUM_CLI_VERSION}/cilium-darwin-${CLI_ARCH}.tar.gz{,.sha256sum}
shasum -a 256 -c cilium-darwin-${CLI_ARCH}.tar.gz.sha256sum
sudo tar xzvfC cilium-darwin-${CLI_ARCH}.tar.gz /usr/local/bin
rm cilium-darwin-${CLI_ARCH}.tar.gz{,.sha256sum}

Installing Cilium in the Cluster
We’ll use Helm to install and manage Cilium. While the Cilium CLI can also be used, it utilizes Helm under the hood. By using Helm directly, we gain more transparent control over the configuration.
First, let’s get the default Helm values to customize our installation.
helm repo add cilium https://helm.cilium.io/
helm show values cilium/cilium > values.yaml
Now, install Cilium using the Helm chart. We are setting operator.replicas=1 which is suitable for a small, single-master cluster.
helm install cilium cilium/cilium --version 1.17.6 --namespace kube-system --set operator.replicas=1 -f values.yaml
Finally, check the status of the Cilium deployment and wait for it to be ready.
cilium status --wait

A successful installation will show all components as healthy.
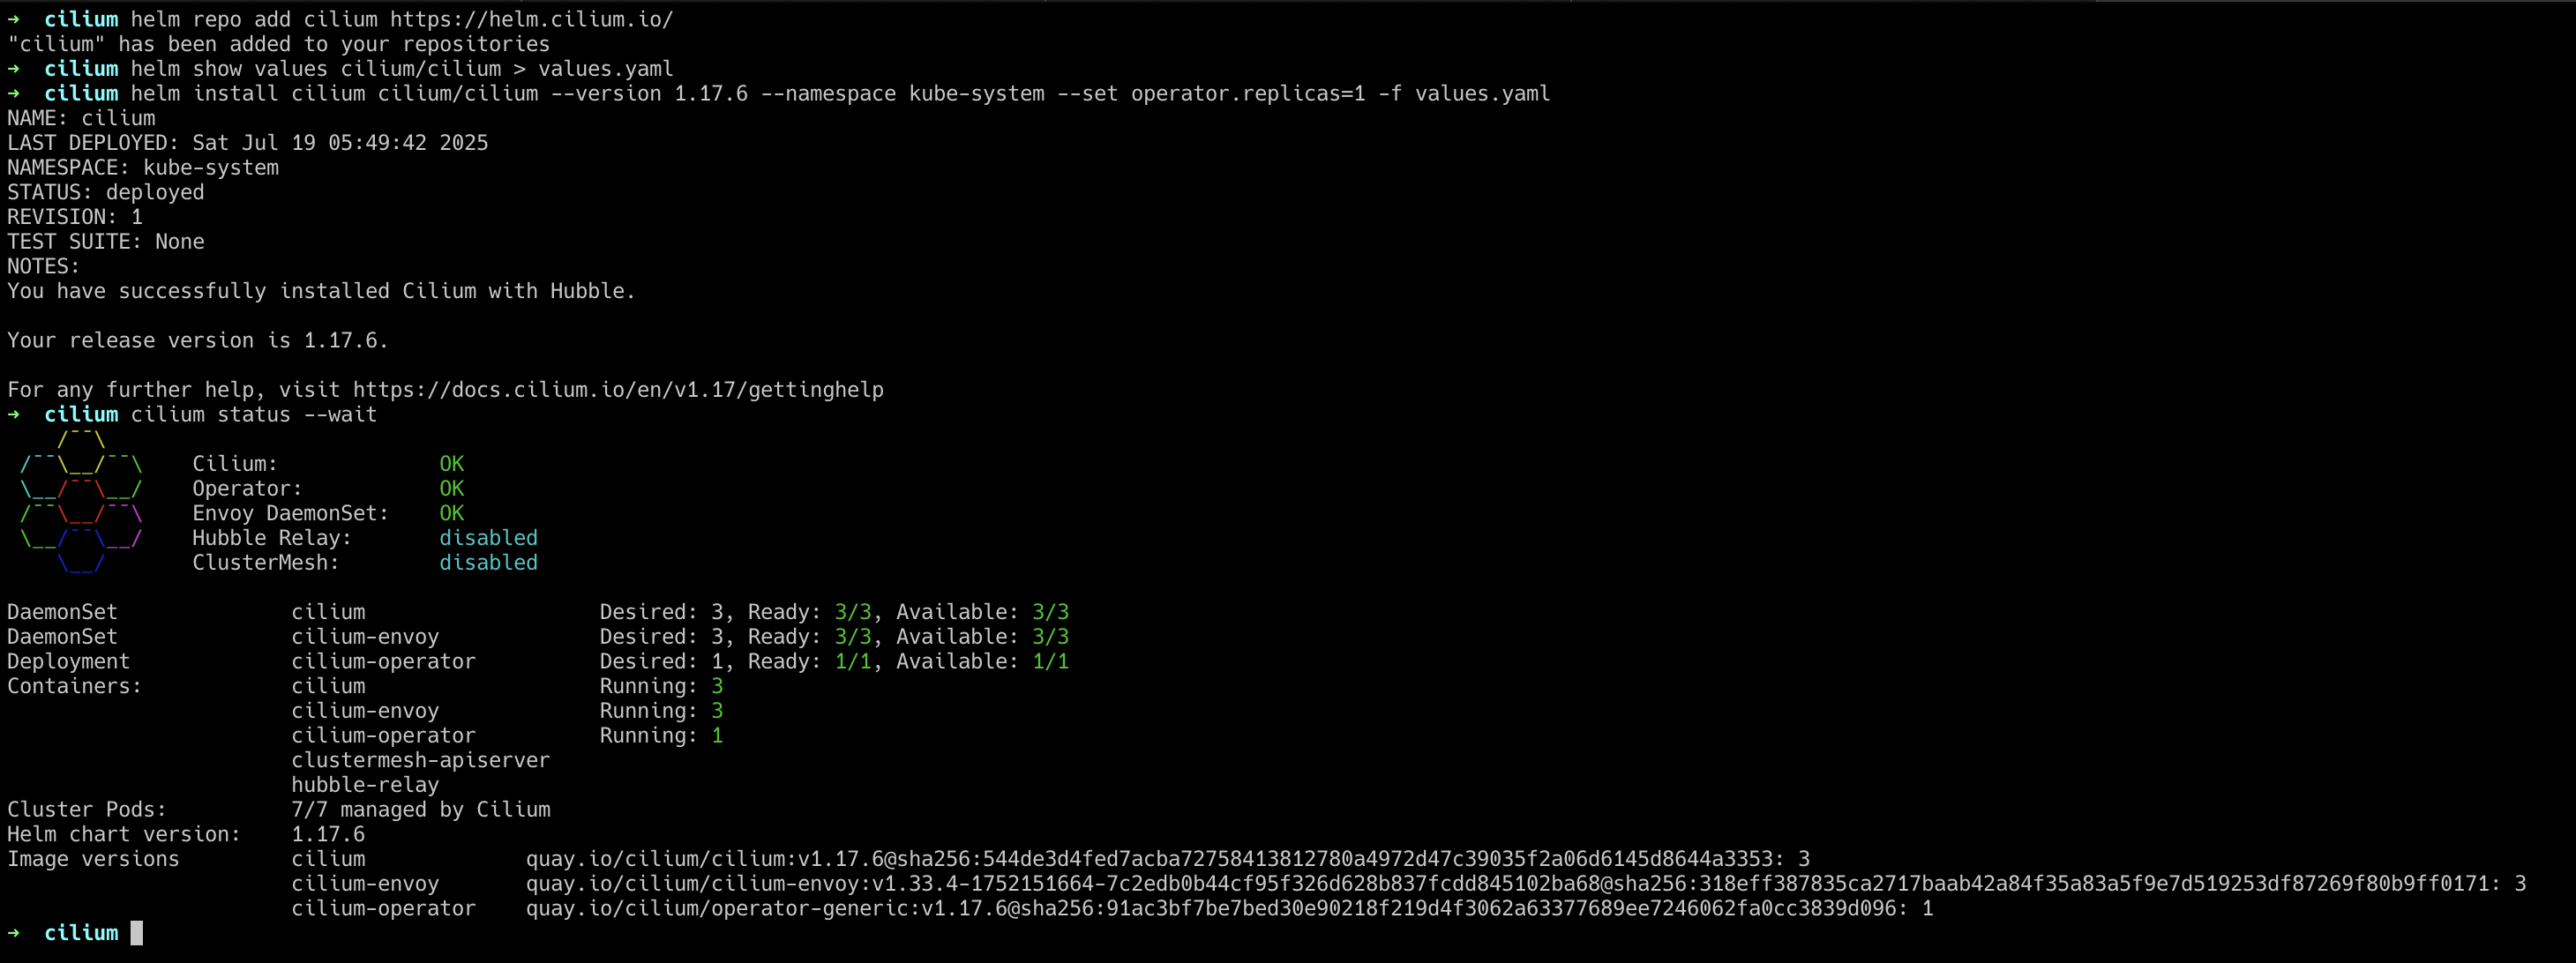
Your K3s cluster is now running with Cilium.

Tip: Uninstalling K3s
If you need to uninstall K3s from your nodes, you can use the following commands:
On the control node:
/usr/local/bin/k3s-uninstall.sh
On worker nodes:
/usr/local/bin/k3s-agent-uninstall.sh